Following on from my blog post on using video analysis whilst coaching the Olympic lifts I’m going to talk today about a related piece of tech - the Vmaxpro bar sensor.
The Vmaxpro is a small sensor which sits on the bar to provide data on bar acceleration, displacement, trajectory, velocity etc. What you then do with this data is then up to you, but the most common uses are weightlifting analysis and velocity based training (VBT) methods. There is also a subscription model which allows access to the raw data output from the sensor, for research use for example, but I haven’t tried this out.
Pricing
The sensor itself costs €239, quite a bit cheaper than the comparable VBT solutions from other suppliers such as the Push Band (€315).
For this price you receive the sensor, a bar strap a carry case and can use the app with up to 3 athletes. If you’re a trainer working with more athletes or a team then you have to purchase a subscription, which ranges from €20 per month (€192 per year) for an unlimited number of athletes working on up to 2 devices (iPads) up to a massive €2000 per year for a team working with 24 devices and 72 sensors.
The Hardware
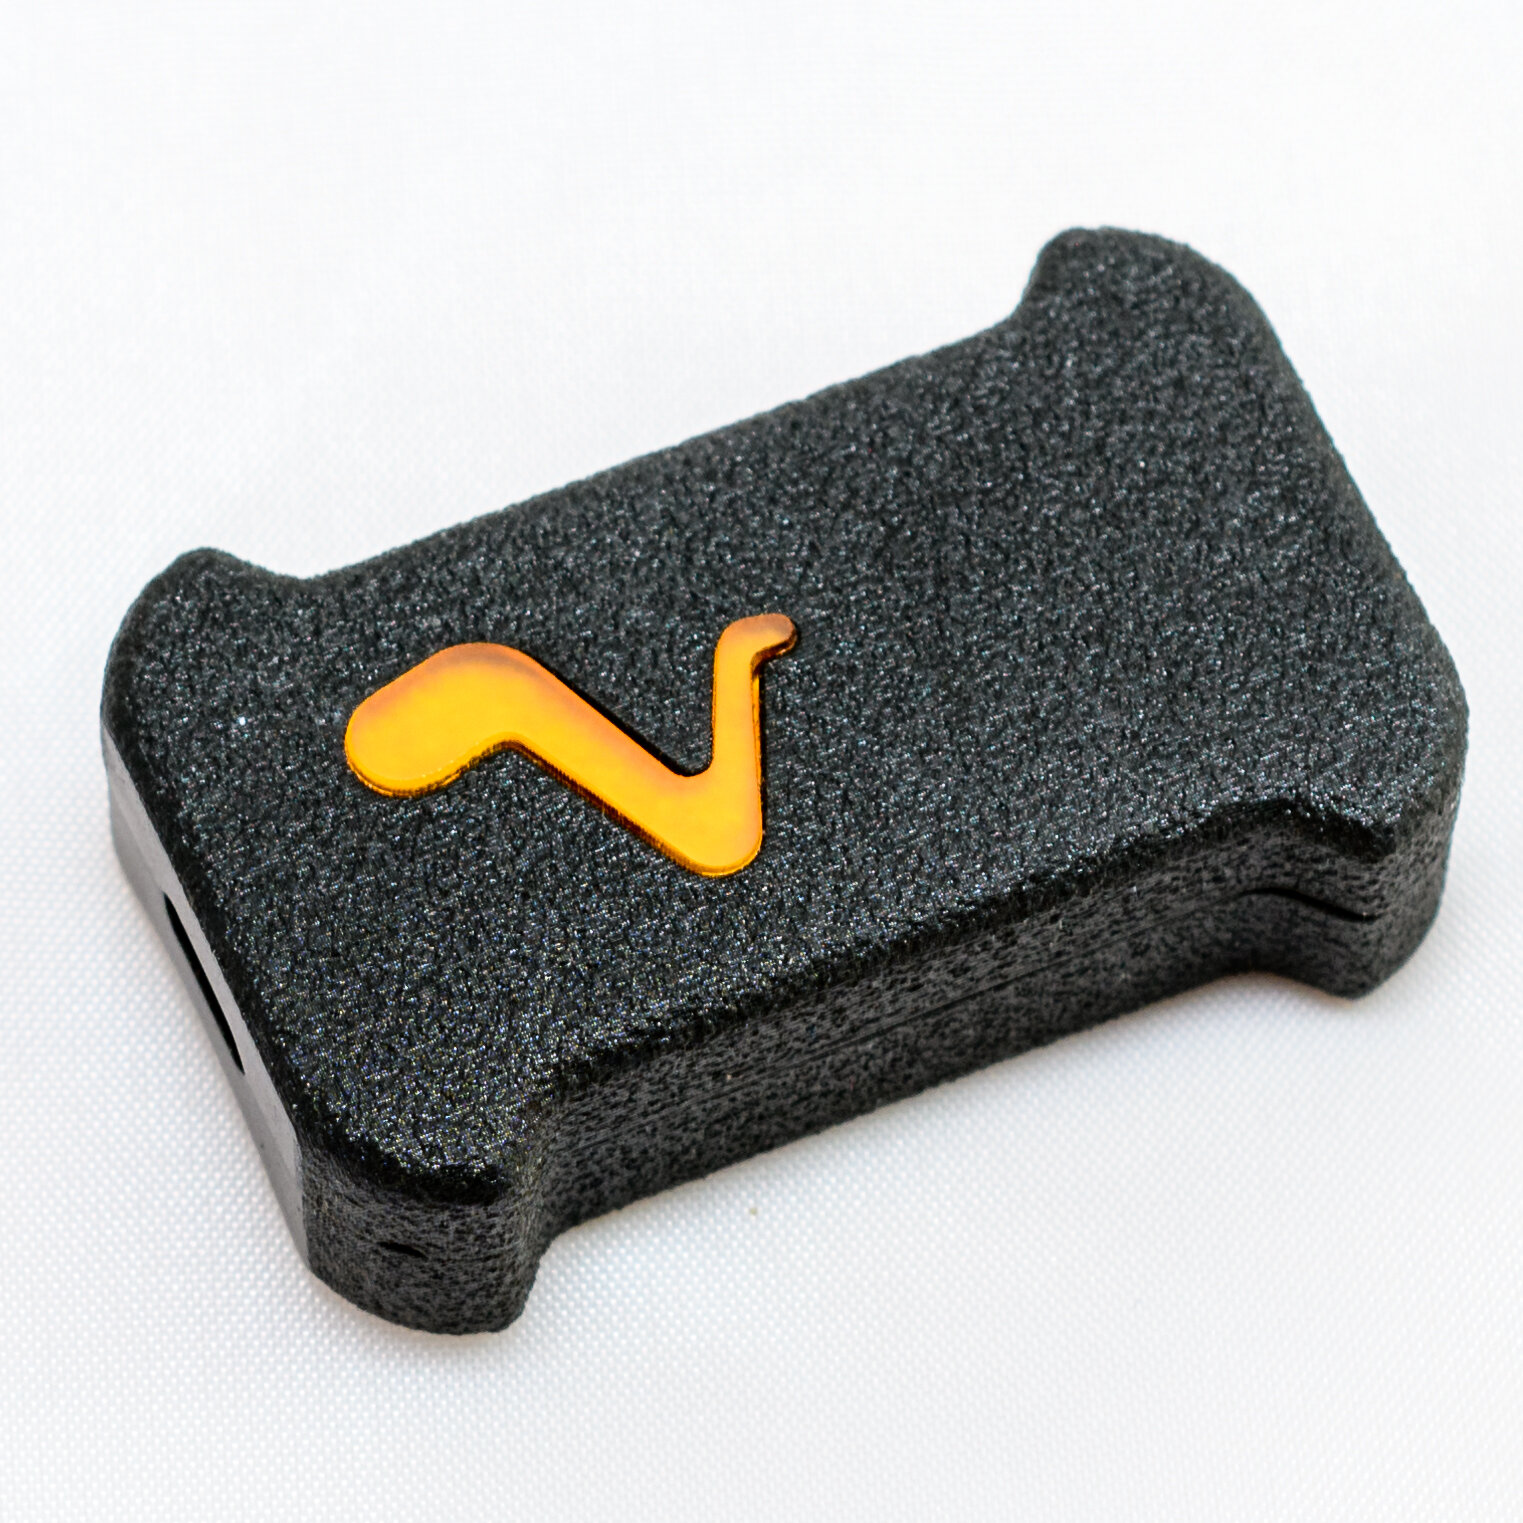
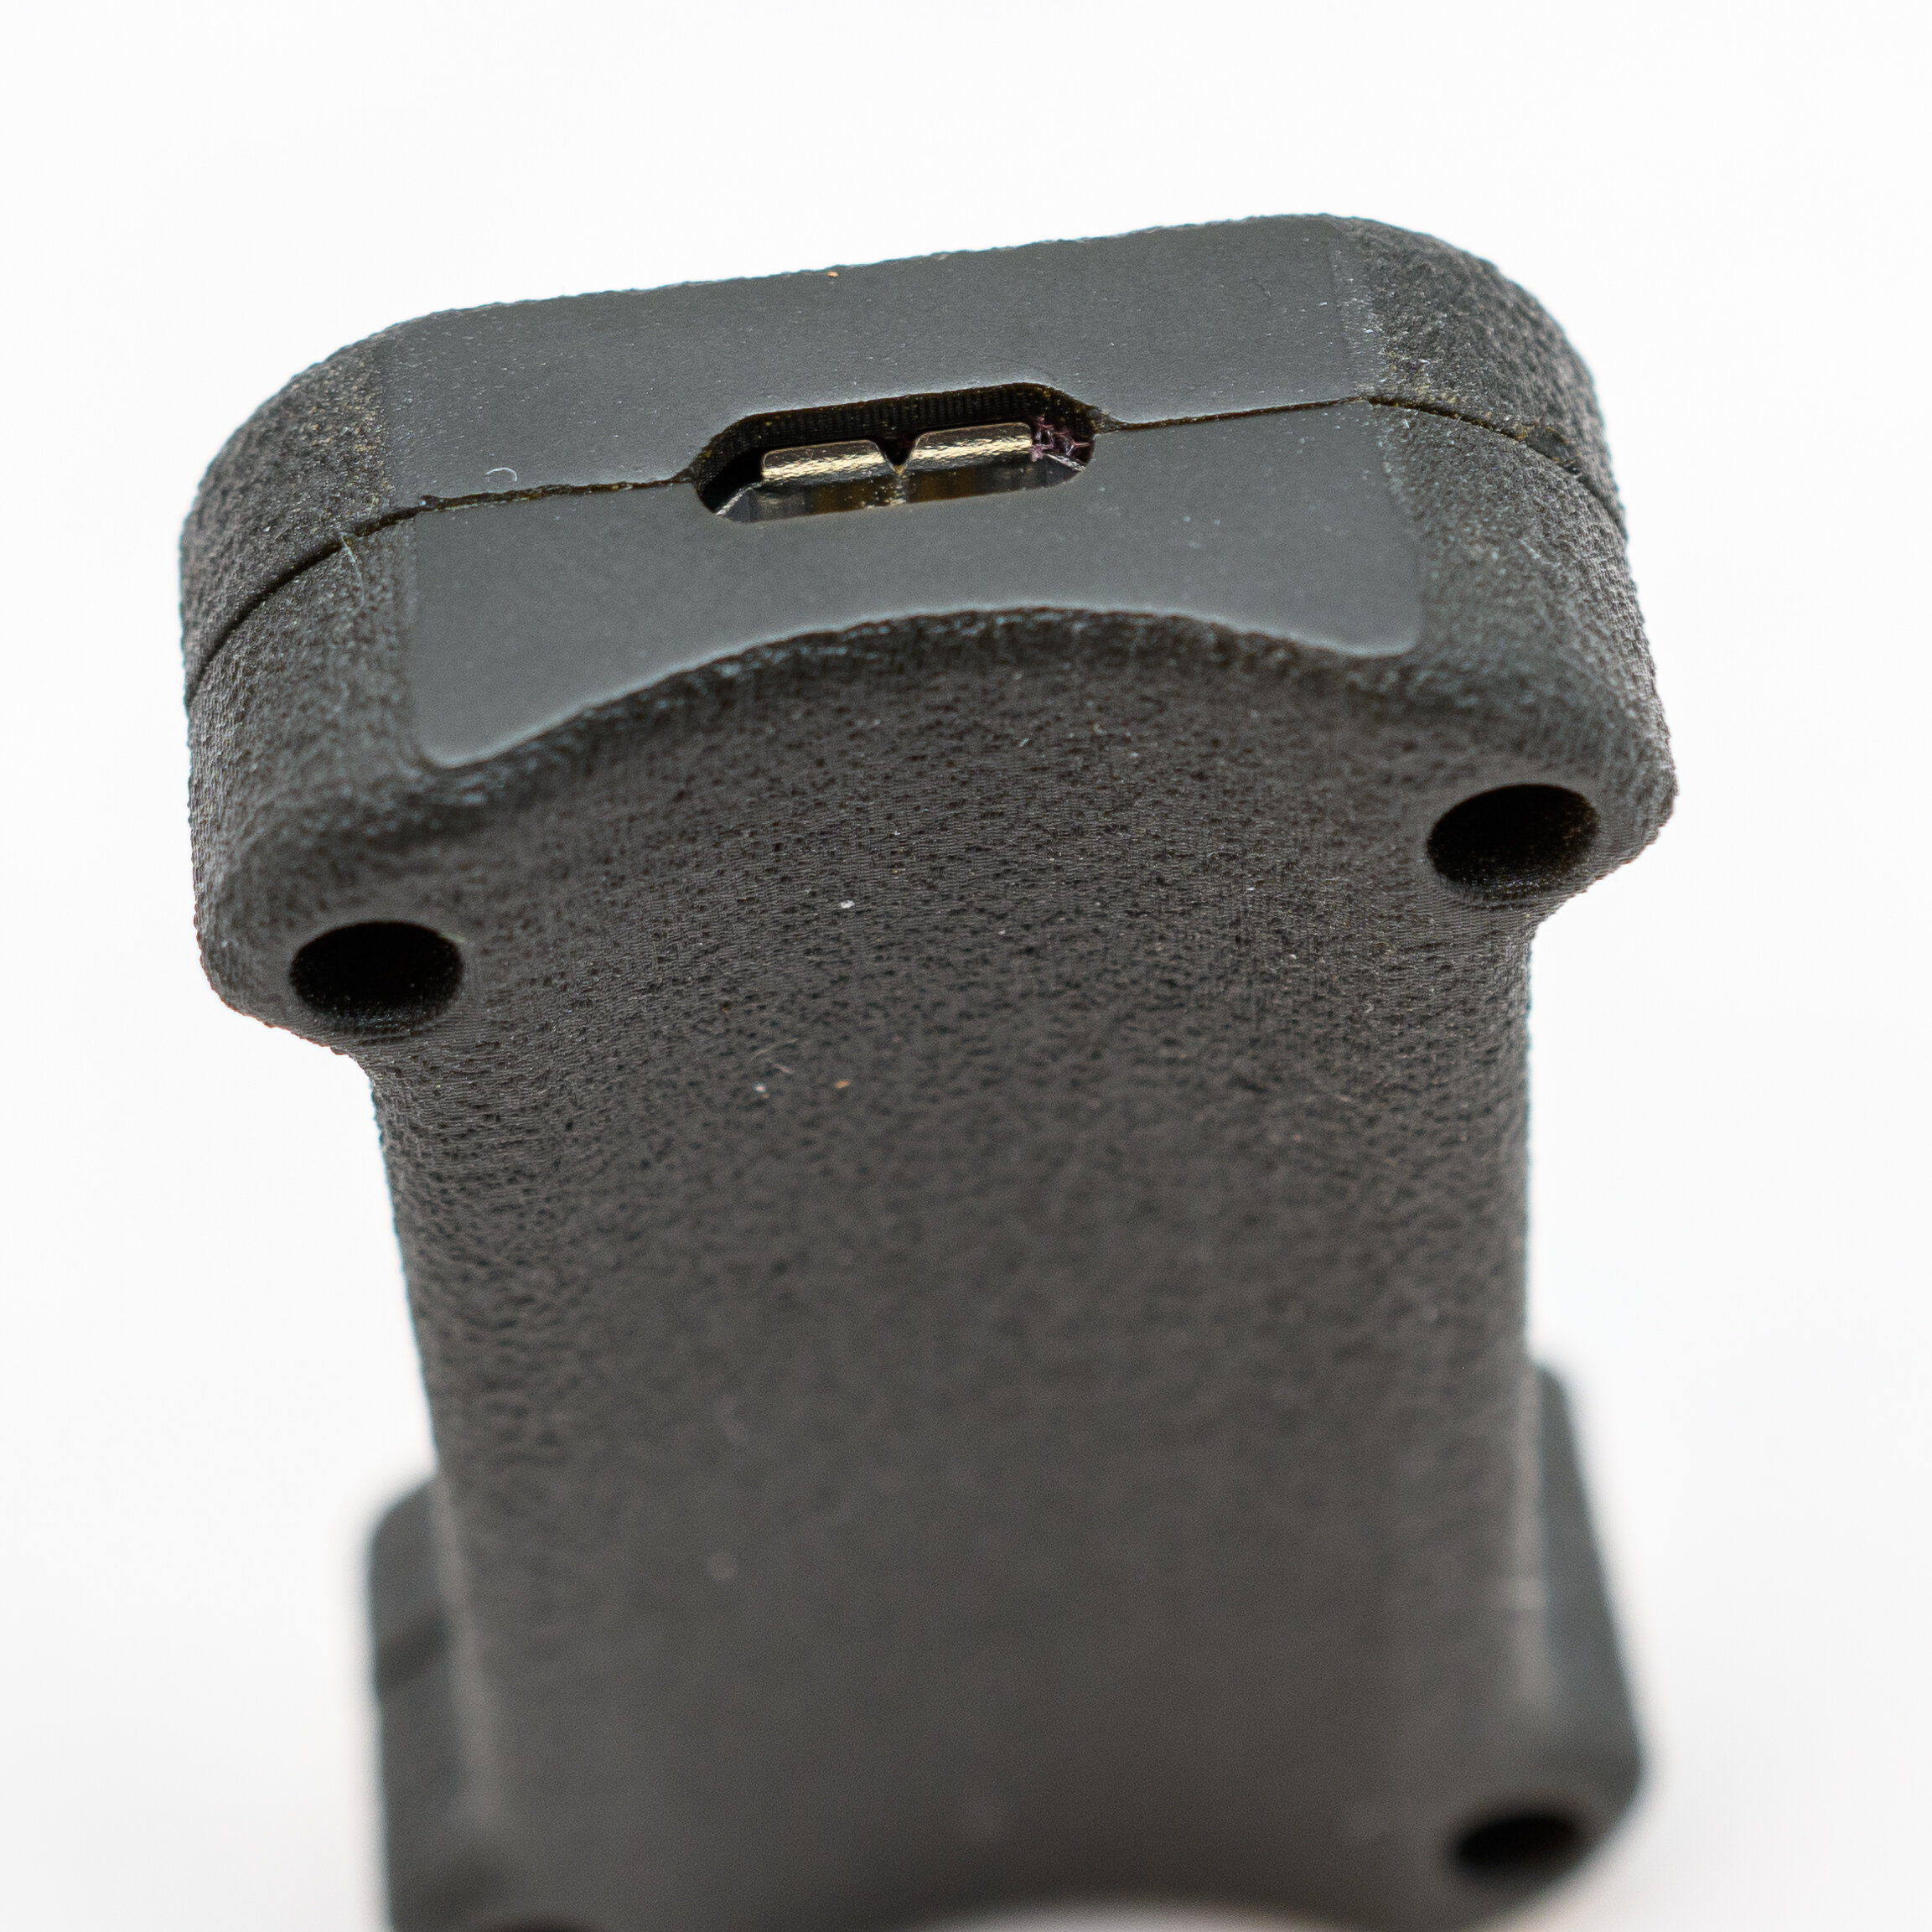
The sensor is a small brick (44 x 27 x 13 mm) with a curved base to help it sit correctly on a bar. The base is also magnetic to help you stick it to a handle, weight stack etc. without the strap. Build quality appears excellent - the case is solid with no flex. The V logo on the top is a light to indicate charging, connecting etc. but once the sensor is placed in the strap you can’t see it so it’s not distracting and is unlikely to be broken.
The velcro strap delivered with it has a pocket into which you slide the sensor and you then wrap the strap around the bar and secure it with the velcro tab on the end. In testing so far this has been solid, never slipping or falling off. The strap is quite small though, making it only suitable for an Olympic bar. I’m not very big but I couldn’t use the strap to attach the sensor to my wrists or ankles for testing purposes (more on that later).
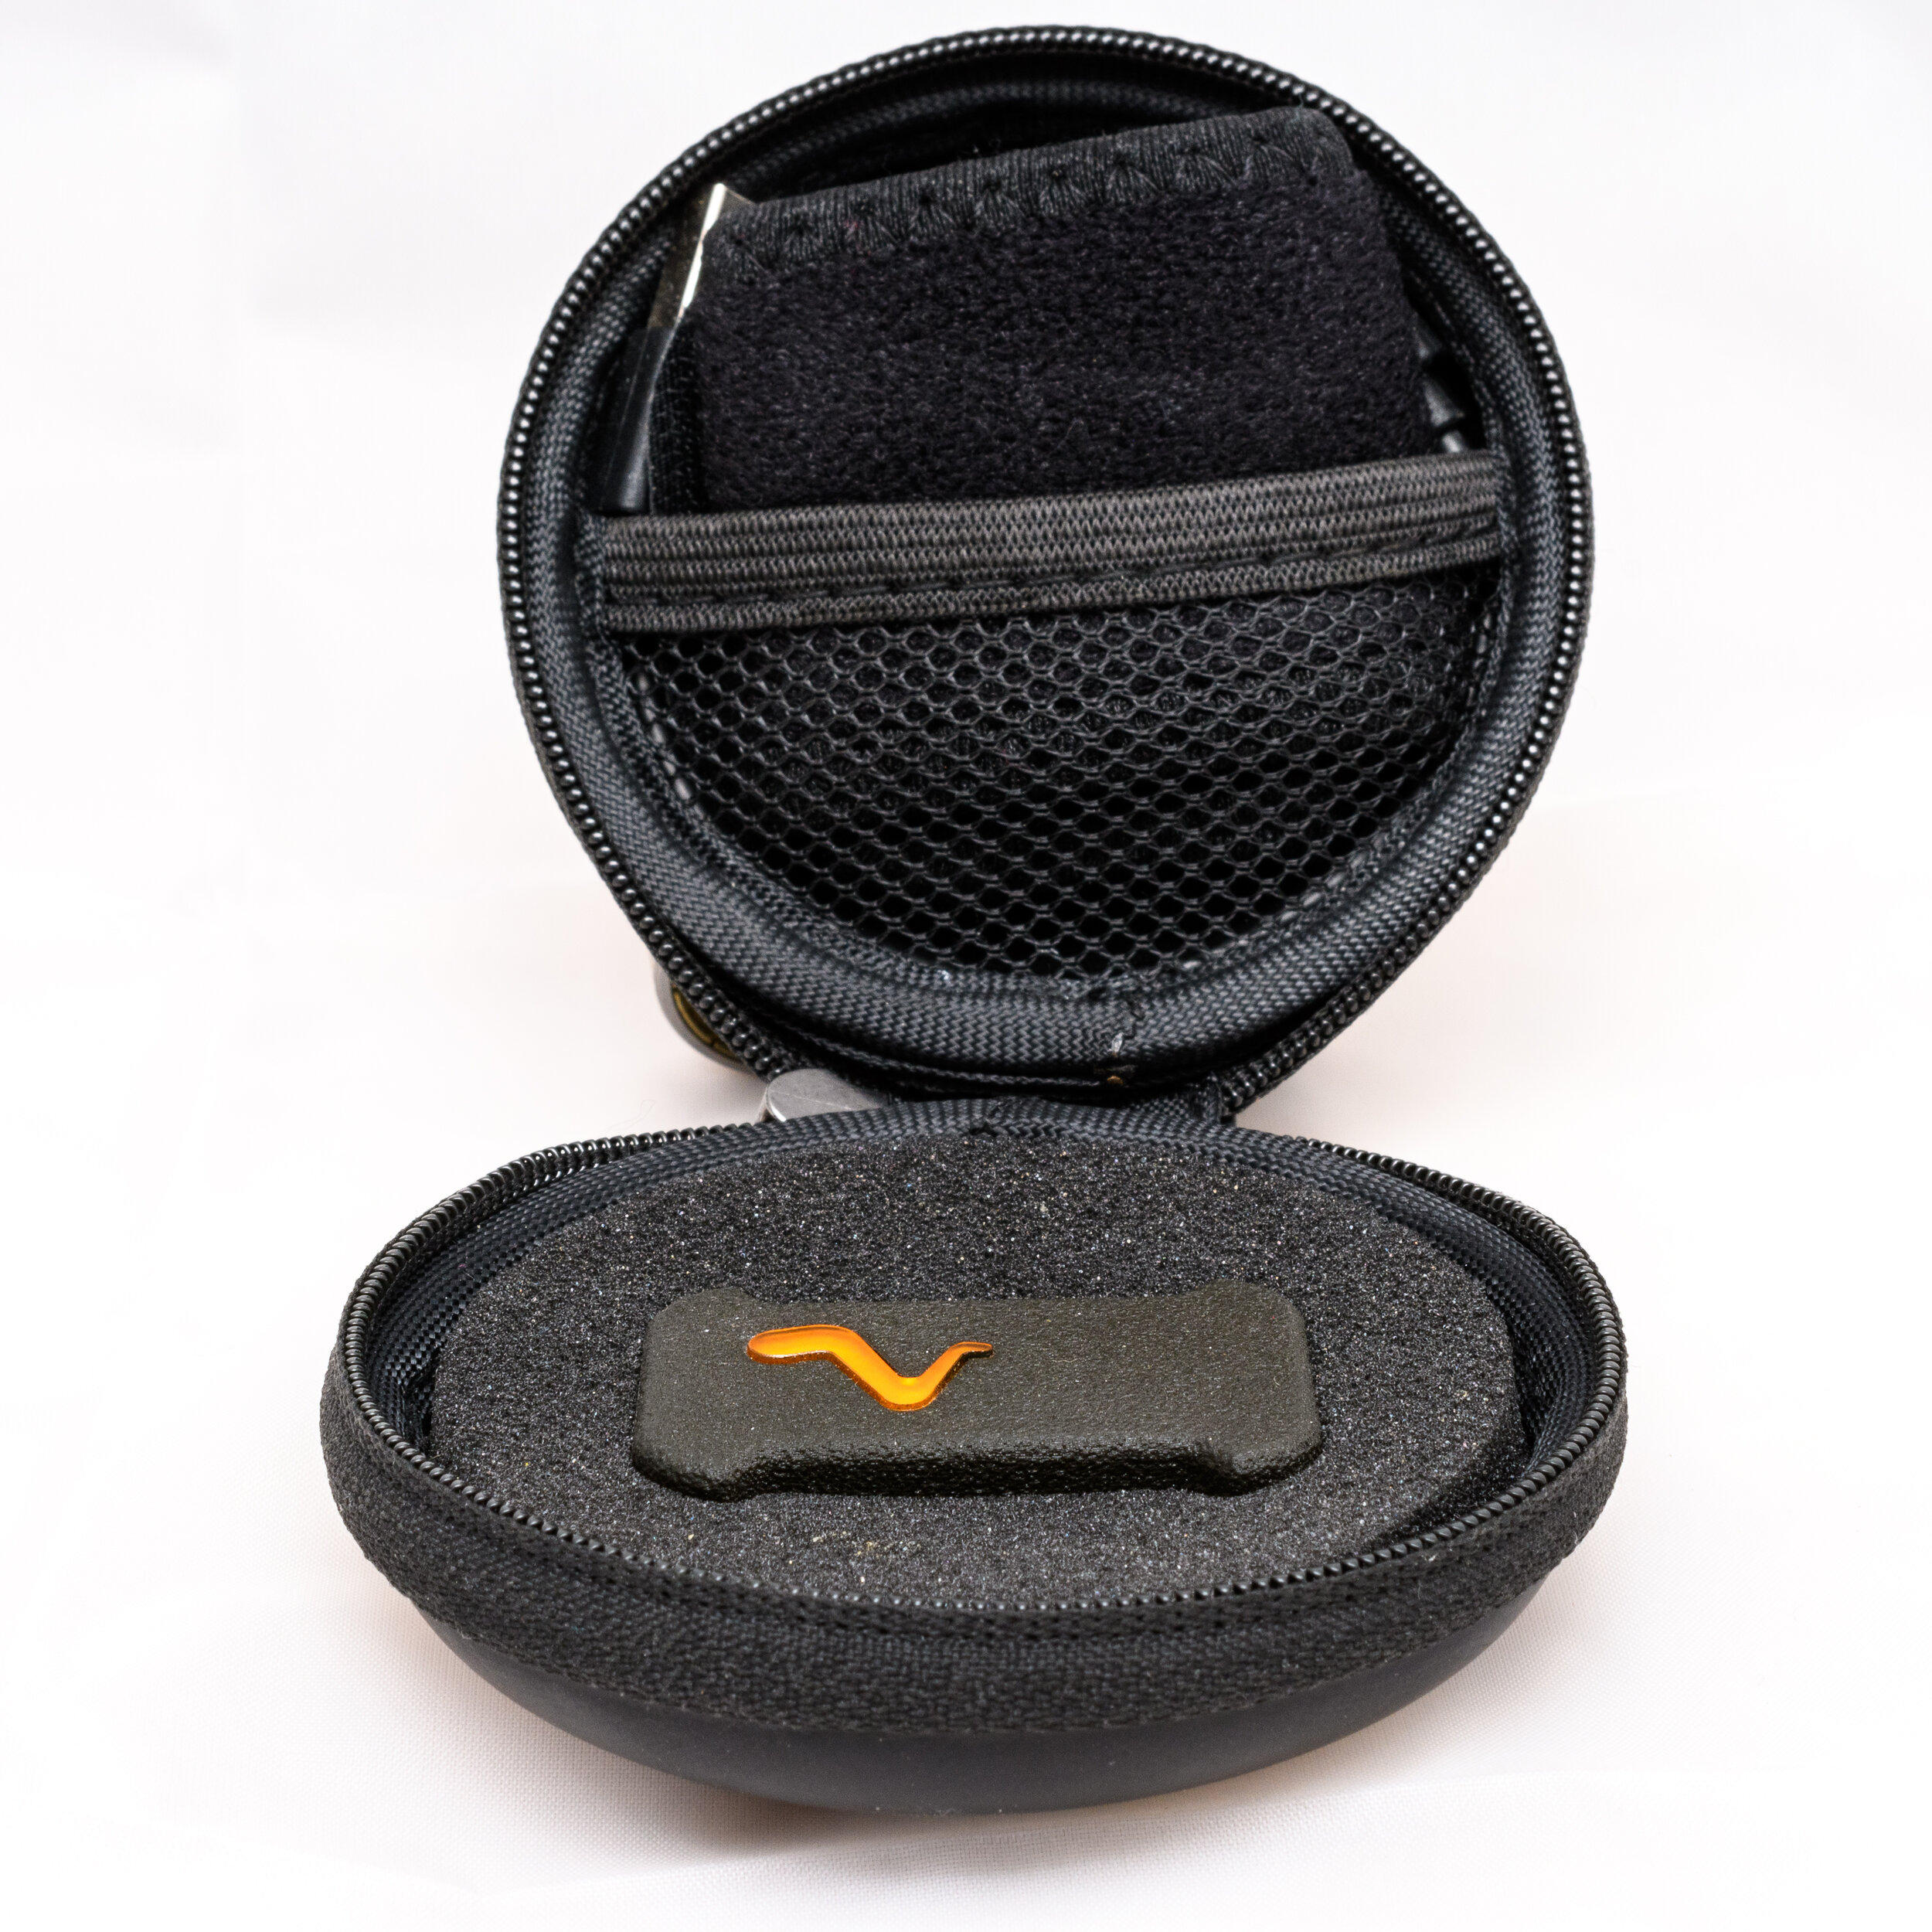
The sensor, strap and a short charging cable are all delivered in a neat little round case.
Battery life has been excellent so far, though I work with individual athletes rather than big teams, so my use case isn’t too demanding. Charging is via a standard micro USB port, which is much better than needing a proprietary adaptor.
I ran a series of tests to compare the Vmaxpro to the app My Jump 2 in order to gauge its accuracy. A couple of athletes each performed counter movement jumps which were simultaneously captured by the two system (the Vmaxpro was linked to an iPad, My Jump on an iPhone SE with the camera running at 240fps). The results of the tests can be seen below.

The Vmaxpro compared to the app My Jump 2
There’s always going to be some variation between testing methods but on the whole a correlation between the two of 0.95 isn’t bad and there weren’t any extreme outliers.
The Software
The required software is only available for iOS devices, though the website does say that an Android version is coming soon. This isn’t a problem for me as I use an iPad whilst working with athletes.

An example of an exercise’s results as displayed on an iPad.
The user interface is aesthetically pleasant and obeys most of the iOS UX conventions (e.g. swiping and long presses, night mode) but it isn’t always immediately obvious which elements are selectable. You can change the load by tapping on it for example, but there’s no real indication that this is possible. Ideally selecting a box to enter a weight would bring up a number pad, but it just opens the standard keyboard (albeit on the numeric view).
Swapping between athletes is easy, just swipe the name card to change them in a carousel fashio , again it’s not easily discoverable tough. iOS has a convention to use grab handles, as demonstrated in the podcast app Overcast which I feel would be better. You do need to read the instructions, but if the iPad is in an athlete’s hands are they going to do this?

The Overcast card based layout is very similar to how you swap athletes in the Vmaxpro app, but better visualised.
Each exercise is individually created, there’s no standard catalogue as such, although there are pre-defined categories. It therefore takes time to get everything set up. In the above example I was taking the bar of jerk blocks before performing the push press and as the minimum movement distance was set too low it recorded picking the bar up as a rep. It’s easy enough to delete these, but you do need to be careful with set-up.

The exercise creation screen.
Sensor connection and calibration is easy - when you press the sensor button at the top of the screen it searches for a sensor, connects then asks you to lay the sensor on a flat surface. When it’s happy you flip the sensor onto a different side and wait for the signal to turn it again (the side awaiting calibration are indicated by small orange arrows).

Calibration
Only once did I have problems connecting - in a busy gym where somebody was playing music to a bluetooth speaker and for some reason I had to break off in the middle of calibration. When I went back the app refused to see the sensor until I’d force quit it and gone back in.
Velocity Based Training
When planning a session you get given options as to what the aim of each exercise is, the app will then suggest training loads based on the athlete’s profile which has been built during previous sessions. There is then an algorithm to monitor the athlete’s performance and adjust loads accordingly.
Sets, reps, rest time, velocity and velocity drop are all clearly displayed during the exercises in the bottom left corner of the screen.

An example of the screen during an exercise.
I’ll be honest though, whilst I did look at this data during training I didn’t have any of my athletes on VBT during the trial, so I can’t comment on the algorithms. I used the sensor more as a monitoring tool and found the data to be clearly displayed and aside from the previously mentioned learning curve as to which elements are selectable the app was easy to use.
Jump testing
This is an area I did use the sensor more for. Vertical displacement is clearly displayed and so for an individual doing a CMJ it’s easy - just slip the sensor under the shoe laces or if they’re wearing lifting shoes then use the shoe’s velcro strap. Why the shoe laces? I didn’t find the strap long enough to securely wrap around an ankle. It was also a suggestion from the developer for an easy way to get a direct measurement of jump hight (when I’ve had occasion to task something of the developers the responses have been prompt and helpful).
Where I had problems was with testing squat jumps to build a force-velocity profile (as described by Morin & Samozino HERE). If you attach the sensor to the foot then the athlete can’t walk around to rest or load the bar and you can’t swap athletes easily. If you attach it to the bar you have to account for push-off distance in any equations. This isn’t a big deal for anybody transferring the results into Excel but it does have to be rigorously controlled. Of course if you’re using the profiling spreadsheet linked to above you’ll be doing this anyway, but you can’t just use the spreadsheet without modification as you’re recording total displacement with the sensor, not jump height (displacement = push off + jump height). Some sort of jump mode where it calculates the push off distance from the negative displacement would be good, though difficult to implement in squat jumps where you pause before jumping or trap bar jumps where there is no downwards motion. For a trap bar jumps you can just attach the sensor to the bar and get the bar velocity, but additional calculations are required to get jump height. It’s an easy problem to solve and is the same as if you use many other systems such as force plates where you’ll often have to do some Excel-wizzardry, it’s just not as easy as you’d think with such a good looking app.
For other testing variables such as peak velocity during a trap bar jump then the sensor was excellent - set the weight of the bar, the athlete jumps, next athlete steps in, swipe over to the name, jump and so on. Quick and easy.
Weightlifting
This is where the Vmaxpro really excels - barbell path, speeds, videos all linked together, it’s excellent. I haven’t seen another sensor that display bar path, never mind having it synchronised with video. There are big video set-ups available they usually require a wired camera a set distance from the bar that’s just not practical in the training hall. The iPad/sensor combination is much more convenient.
The 3D visualisation of the bar path is excellent and can be turned around, zoomed etc. It has got forwards/backwards reversed a couple of times though, as in the video below, but it’s easy enough to turn the sensor around.
As a mark of endorsement the coaches at my weightlifting club have seen me using mine and intend to purchase one.

Unfortunately there’s no way to record a bad rep though - this would be very useful to see if it was too slow, too far away etc. compared to a successful lift.
Problems
It takes a very short pause in a movement for the sensor to recognise the end of a rep. During heavy sets or weightlifting movements this has not been a problem at all, but during a warm-up set of squats with a light weight I have been guilty of going through the reps too fast for the sensor to keep up. There are audible and visual signals to help guide you but in a noisy gym I’ve not found these useful. One cyclist I spoke to who uses the Vmaxpro says he wears bluetooth headphones when training so that he can hear the beeps and the speed readouts.
I was asked by a coach about using the sensor for testing high velocity movements such as throws. Unfortunately I wasn’t able to test this easily as I performed a throw against a wall and whilst the reps seemed OK there was a lot of noise from me putting my hands out/up/down to catch the ball. When I tried to do a different movement with a rugby player that would have eliminated this problem (lying down and throwing the ball vertically so that I would catch it for him and then drop it into his hands) the strap wouldn’t fit around his wrist.
You could use the sync feature to monitor a remote client, but with more than one athlete the subscription required would get very expensive very quickly. With no online portal for results or session planning it’s definitely designed to be used in the presence of the trainer.
Conclusion
Set-up of the exercises take a little while and the discoverability of UI elements could be better, so there is an initial learning curve you need to go through to get the most out of the sensor. If you’re setting up stations for the athletes to record themselves then you will need to teach them how to input the weights used.
I need to work out better solutions for force-velocity testing on the squat jump, maybe by modifying the JB Morin spreadsheet and I need to get my wife (who’s very handy with a sewing machine) to make a bigger strap for use on wrists and ankles but overall the Vmaxpro has been excellent for my needs - for monitoring and testing rather than true VBT and only with a small number of athletes. It has excelled with weightlifting analysis.
This review has not been sponsored by Vmaxpro and I am not linked with them, I do however have discount codes available so if what you have read has intrigued you and you wish to purchase one of the sensors then please contact me: